
It has been a bit since I’ve provided an update, but that doesn’t mean there hasn’t been activity. The reality is, there has been too much activity. With summer ending, family vacations, school starting back, kids testing for a black belt, the world games, learning to weld, non-stop work and conferences… it’s really just sapped my desire to sit down at a computer and write.
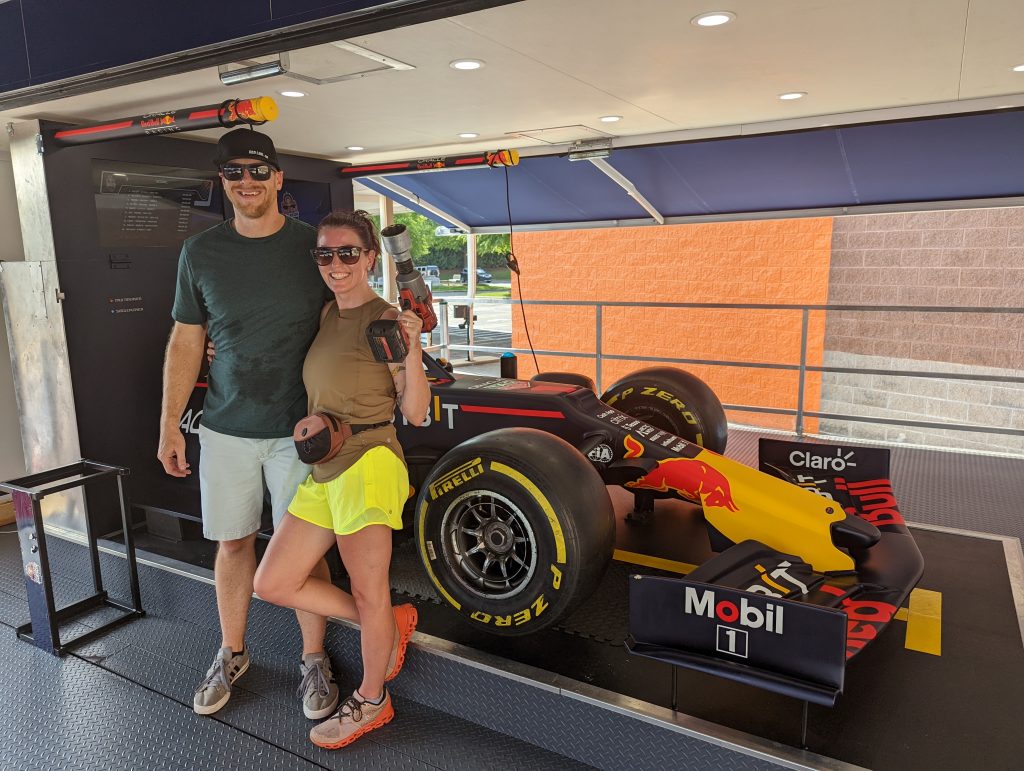
I guess that’s my way of warning you this will be a long post that will wander over a bunch of different updates. Also, if anyone is wondering why Max is leading (winning) the F1 championship… I’m not saying I helped, but I’m also not saying that I didn’t. 6.4s to single handily change the tire.
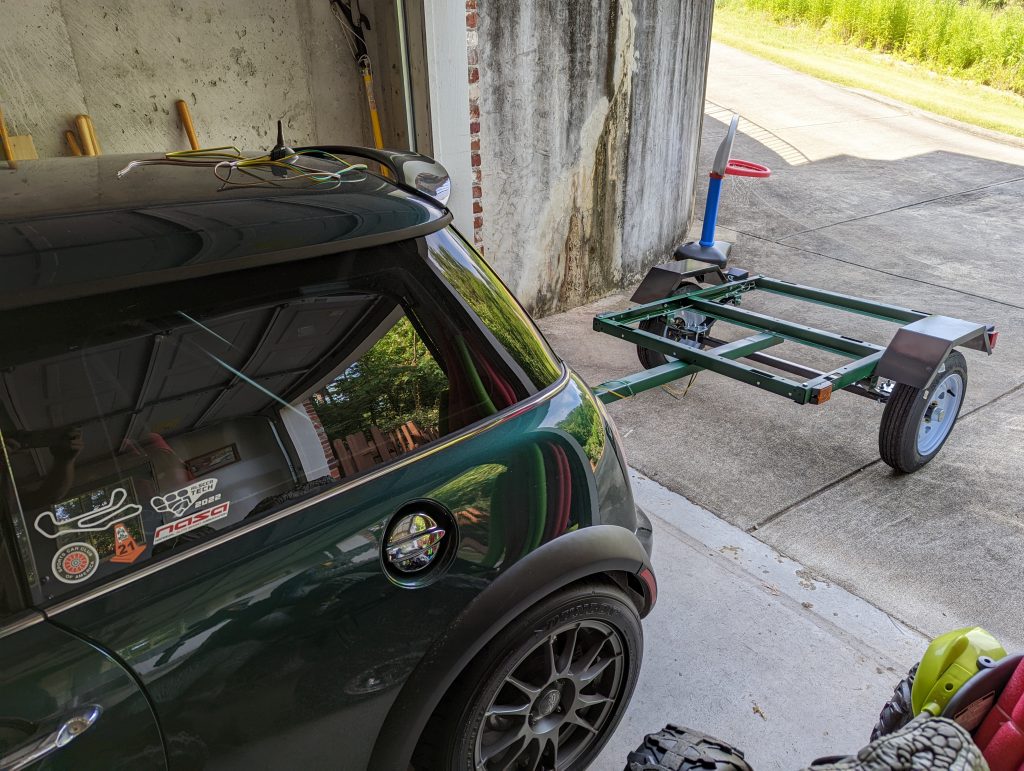
I guess we’ll start at the end, the back end… specifically the trailer. It’s long been part of the plan to add a trailer to the Mini. First it’ll help with track days, getting race wheels/tires to the track, all the extra equipment and tools, etc. Secondly, it would be great for quality of life in One Lap of America 2023. We can’t use race specific wheels/tires, but we can carry a lot more gear, snacks, pillows, the essentials. So when Tim (Aircooled at GRM) came through with some friends and family discounts, that immediately became a trailer.
The trailer hitch was already installed on the Mini, we just needed the trailer to pair it with on our adventures. I went with the Harbor Freight 4×6′ lightweight trailer. First step was paint to more or less match the car, then on to assembly. Putting the trailer together was straight forward. I focused keeping things aligned, since pre-reading told me that there were some level of tolerances to expect with cheap Chinese steel.
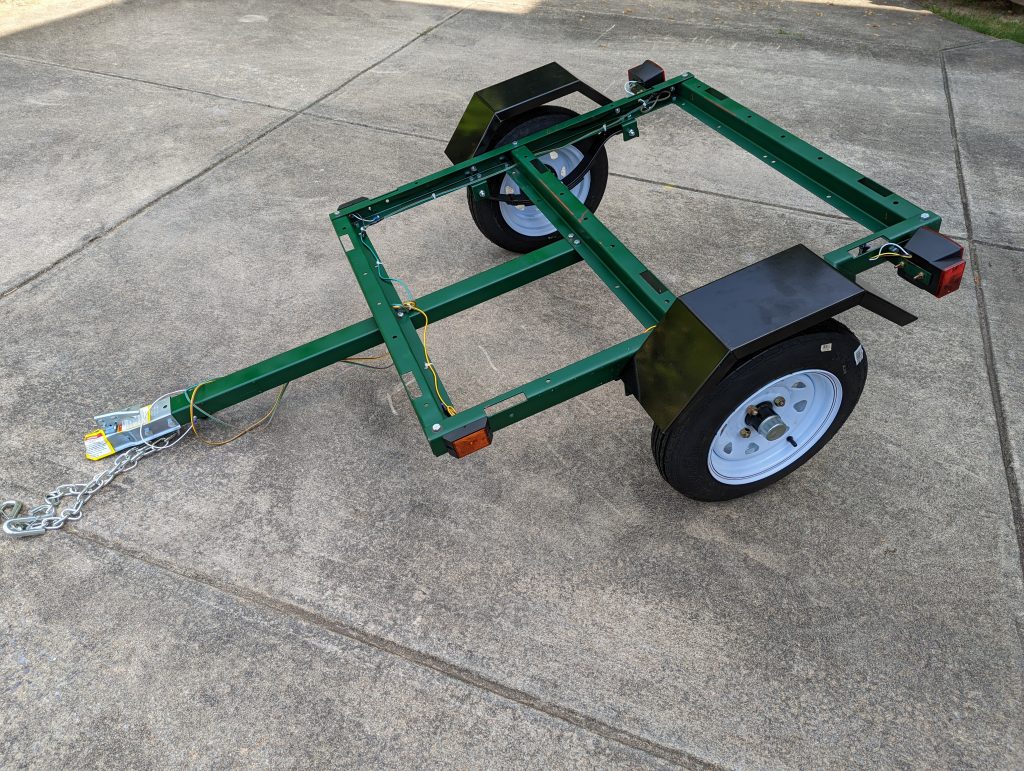
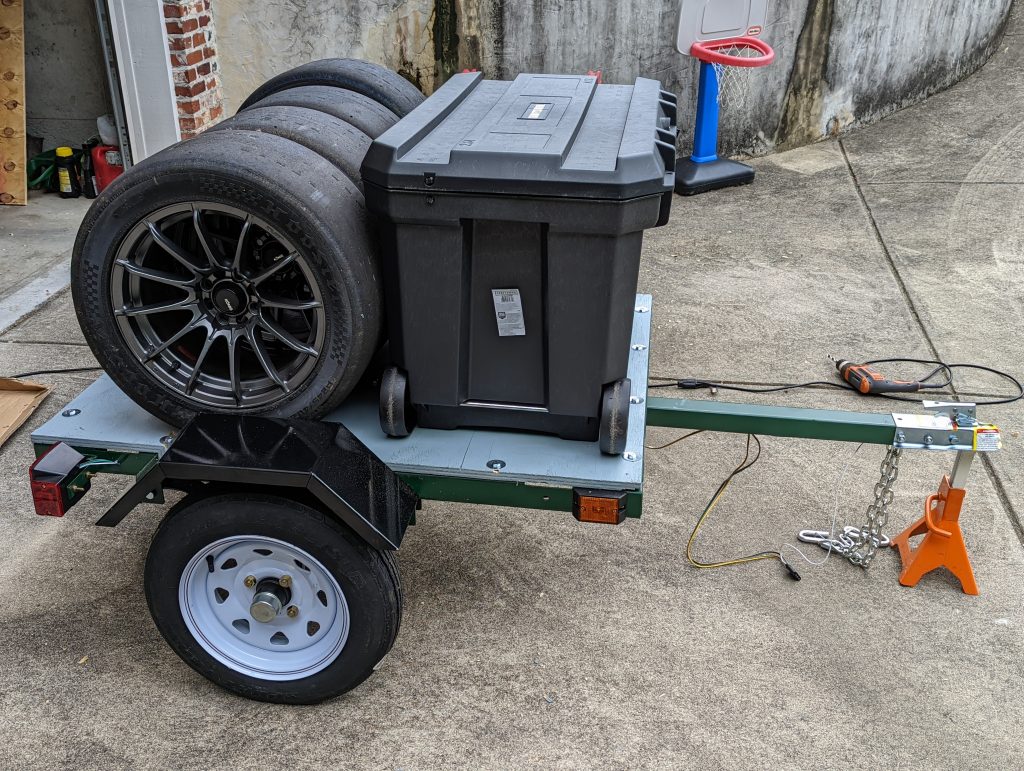
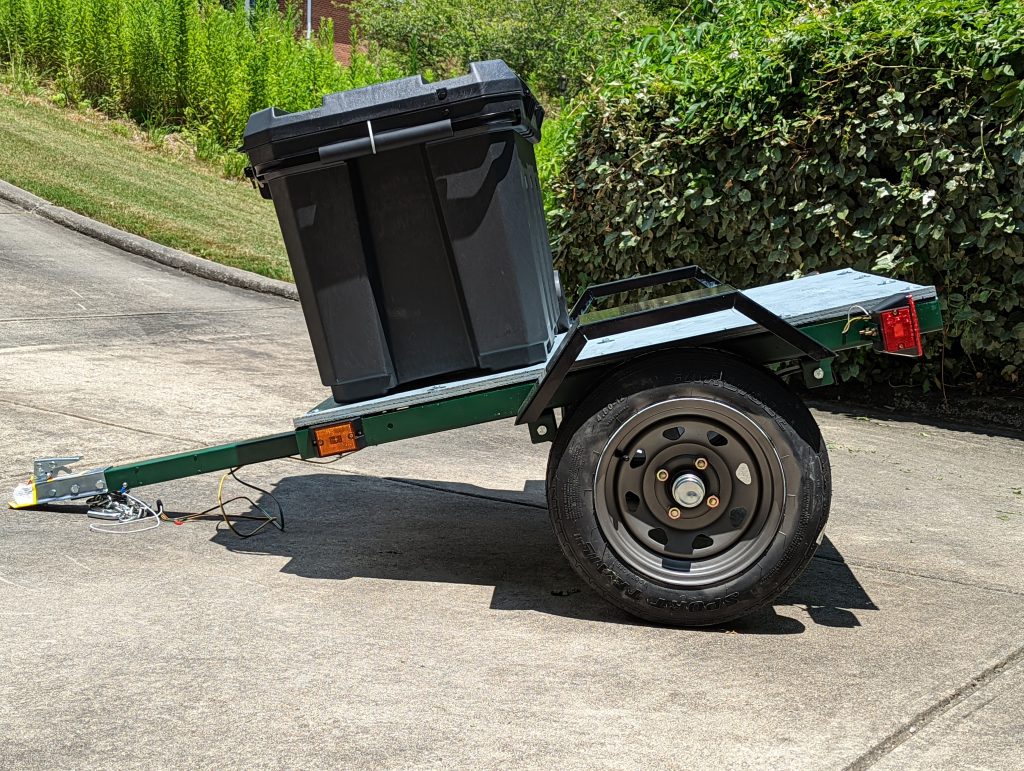
I took my time and it took about an afternoon to get the build complete. I was out of square by 1/16″ I called it good enough. I also was not a fan of how they routed the wiring, so I had to drill a few extra holes to clean up the wire routing. Once that was done, I bolted on some good plywood and the front tool box. Four 245 wide tires juuuuuusssst fit. So this layout probably wouldn’t work for your Corvette.
Remaining work on the trailer is mostly on the Mini. I have 8 wheel chocks that I’ll bolt on the trailer to add some stability to the tires. Those will come off during OLOA and another box will be added for storage.
Moving on to the Mini. I need to wire up the electric harness still. I hate working on wiring, it’s like the least satisfactory work effort. Since I removed the reverse light for the trailer hitch, I need to add another to keep the car street legal. This was solved in the cleanest way possible. I sourced a set of R52 taillights. These lights are direct replacements for the units on the R53, but have an integrated reverse light in them. I have two wiring projects that are related, and will tackle them both at the same time: rewiring the taillights, wiring the trailer harness.
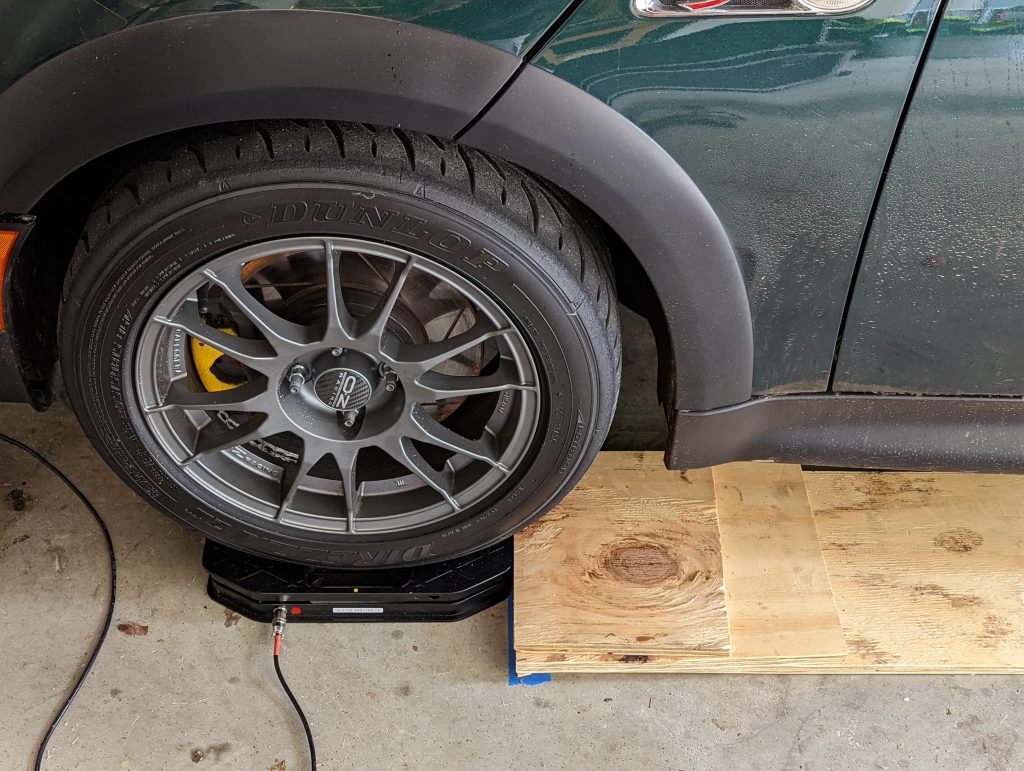
Next on the to-do list was getting the suspension fully sorted out and the car balanced. That meant breaking out the scales and alignment kit. I didn’t do a great job of getting pictures of the alignment process, but let’s say it was less than graceful. We did get to the result we wanted: -1.3 degrees of camber on the front, and -0.9 on the rear.
The coilovers gave me an excellent chance to work on my metal grinding skills. I’m truly a function over form fabricator.
Once the alignment was settled, it was time to start working on the car balance. That started with a trip to my gym to borrow a 150lbs sand bag and a 70lbs dumbbell. That provides roughly 10lbs of clearance to account for shoes/suits/helmets/etc., and being in 2 pieces allowed us to position the weights in places that nearly exactly matched the weights with me in the driver seat.
Now was time to break out the calculators to determine what are target weights for each corner should be, then tweak corners, settle the suspension, and re-weigh. Rinse and repeat until happy. The internet told us the numbers we needed to hit to make our Mini a Porsche 944:
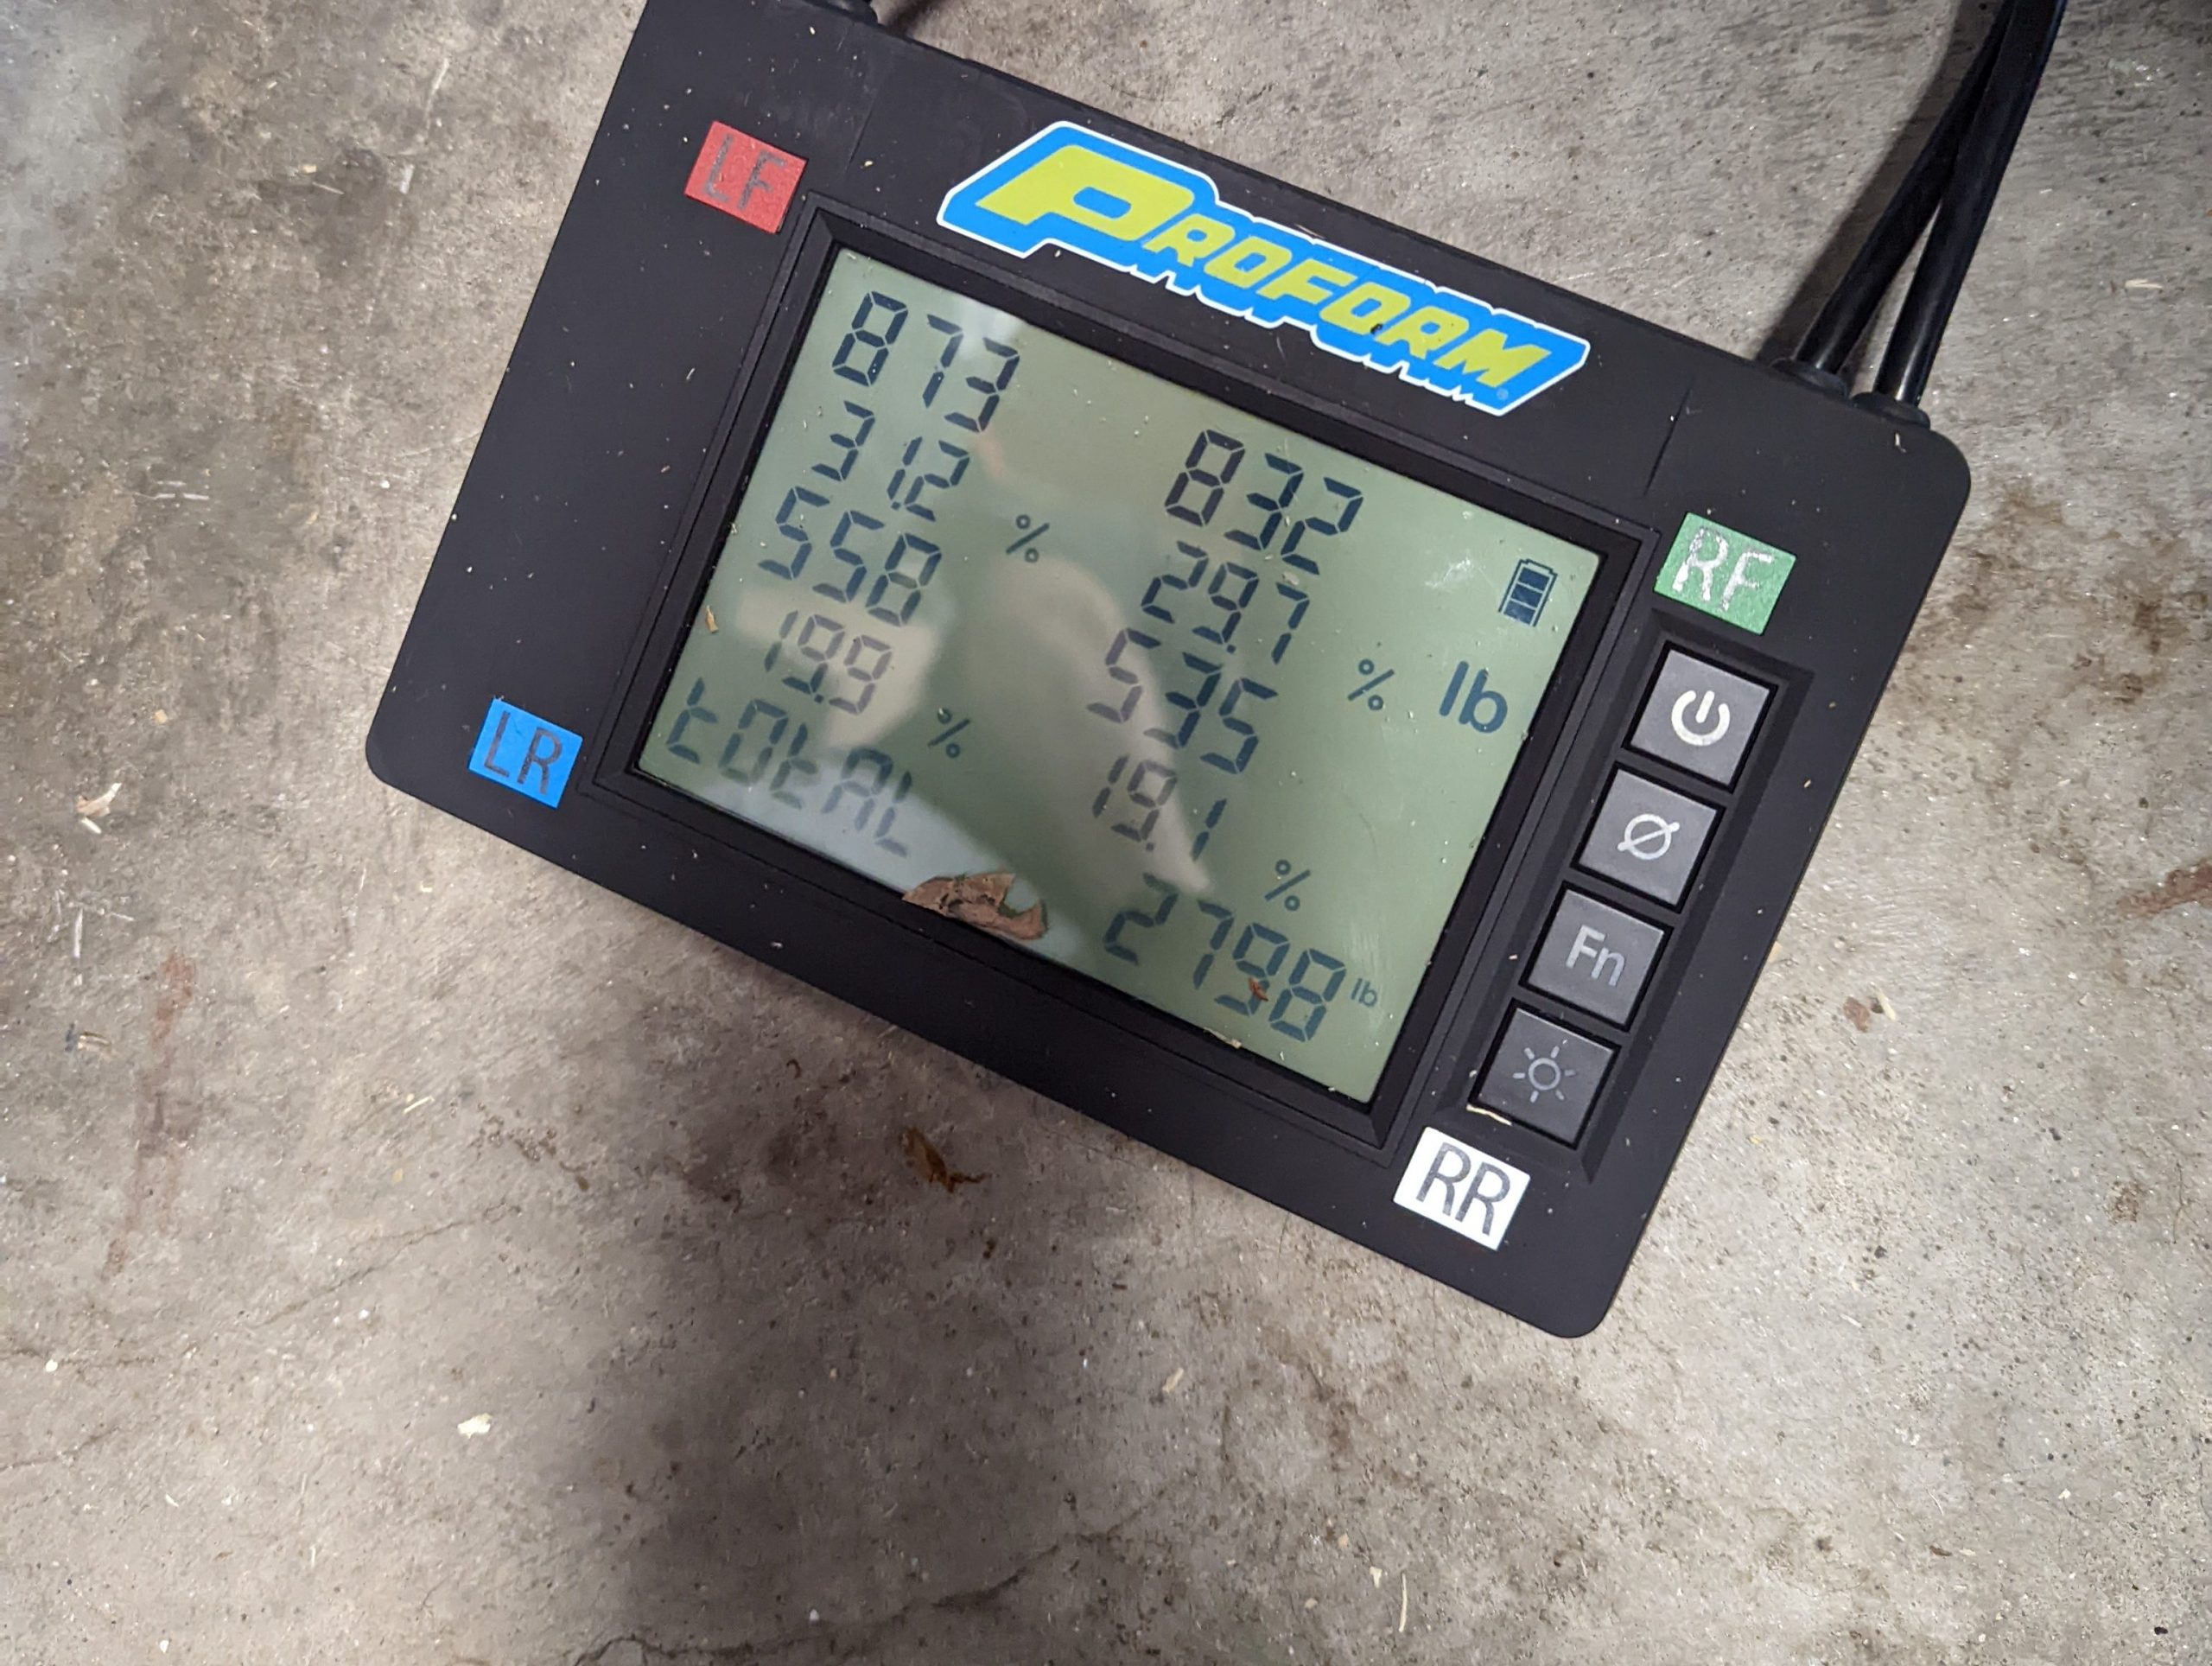
This process took awhile: roll the car off the scales, jack it up, remove a wheel, adjust the coilover the direction we thought it needed to go to make the numbers move, put the wheel back on, bounce the car a bit, roll the car back up the ramps, measure again. Started working on the rear of the car, and then finally to the driver’s side front for the final bit. We ended up at a respectable 49.7:50.3% cross weight, with a 61:39% front to rear weight. Total weight with driver and a full(ish) tank of gas ended up being 2798lbs.
The process wasn’t without its trials though. We had planned all this activity so that we could get everything setup and that weekend take the car to the local autocross for some shakedown runs. It would also be the first time my Dad got to take the car out in anger to start getting a feel for how it handles. Nothing gets to be easy with this project car (if you’ve been following along since the brake upgrade you’ll understand). We were already strapped a bit for time due to my work schedule, and then a series of severe thunderstorms took an evening away. I left my Dad unattended for a bit to keep making progress. When I came back, he was sitting in a chair drinking water and asked if I could tighten the lug nuts. Being the trusting person that I am, I grabbed the torque wrench and went to work. On the first swing of the wrench…
I’m not going to say I was setup to fail here, but I’m saying that I didn’t put a lot of pressure on that stud. This is Friday afternoon, before a Saturday autocross. We had 2 problems: first getting the broken stud out; second getting a replacement. I called everyone locally that I thought might have some studs, and then called everyone they recommended… no luck. So, that’s a lost battle.
There wasn’t enough of the stud hanging out to be able to get two nuts on and locked together. The next thought was to cut a nut in half. However, if you saw my work with a grinder above, we are only looking at 25-30% chance of success. Looking at those odds and the time it would take, I decided to phone a friend. I called my buddy Alan. He suggested we drive out to his house/shop and then we could weld a nut on the remaining stud and then should be able to get it out. That’s what we did, and it worked.

Temporarily we replaced with stud with a log bolt, but that got us going and able to run the autocross.
The autocross went well. The car handled well despite being 95 degrees, humid and having to deal with 2 drivers. It would get warm after a run, but popping the hood and spraying the intercooler would bring the temps down before the next run. We ran the street tires since the trailer isn’t all the way done and they don’t fit in the hatch with the rollbar installed. The car started out not rotating as much as I would like, and with 2 opinions on what to change to fix it, we didn’t really improve it during the morning session. In the afternoon, with the bright sun and temps up the tires got greasy but I took the lead on tweaking the air pressures to get the car’s balance where I liked it. The last 2 runs of the day the car really felt good and we both turned our best time. The last run of the day, I was a full second faster than any run prior… right up until I tried to spin out right in front of the finish line. Probably ended up losing 2 seconds righting the car and crossing the line.
